Effortless Ubuntu Server Deployments with GitHub Actions ⚙️
In this article, I’m not aiming to explain anything groundbreaking to experts. My goal is to help beginners automate simple tasks, like pushing or pulling code to GitHub — something I found myself doing regularly. For instance, I would frequently push to a development branch, then merge it into my main branch, log into my server, pull the latest changes, and run the necessary commands to update my project with the new changes.
This whole process might only take 5 minutes, but doing it day in and day out made me realize it was something I could automate. It would not only save time but also set the foundation for scaling up with features like unit testing, which would enhance my continuous integration and deployment (CI/CD) workflow.
For this, I decided to use GitHub Actions, which is a CI/CD tool provided by GitHub. It allows you to automate tasks like building, testing, and deploying code directly from your GitHub repository. By defining workflows in a YAML file, you can automate tasks triggered by specific events, like pushing code to a branch or opening a pull request. This saves time and helps ensure consistency across your development process.
Okay, so what if we start to automate things now? In this article, I am hoping to show you how to run certain actions after having done a git push to your main branch in GitHub.
We’ll do it step-by-step:
Let’s create our Actions Secrets:
Before starting to create our YML file where we are going to add the instructions and commands we want to send, we’ll have to create some secrets with the information of our server.
- Open your repository
- Go to
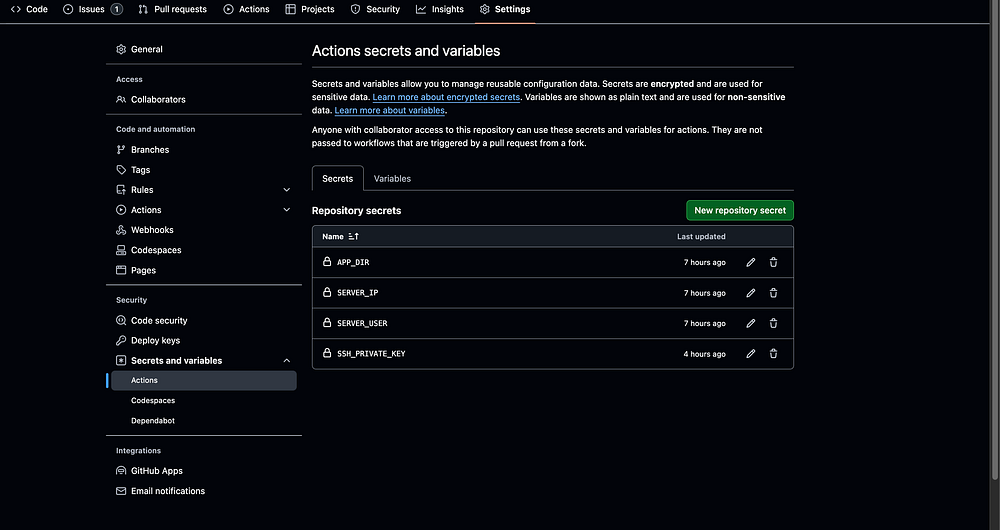
settings -> Secrets and variables -> Actions
Here to create the Actions Secrets, we’ll have to add:
- SERVER_USER: which tends to be
rootas the default user. - SERVER_IP: Your Ubuntu server IP
- APP_DIR: Directory path where you app is located, normally it is
/var/www/website - SSH_PRIVATE_KEY: Private SSH keys generated by your server.
Generating SSH Keys:
I’d like to explain the SSH keys generation process very well here because this could give you a hard time. Now, go to your server and run. Leave this directory
ssh-keygen -t rsa -b 4096 -C 'youremail@mail.com'Press Enter to accept the default file location ~/.ssh/id_rsa.
When prompted, you can add a passphrase (optional, but recommended for extra security.
Then, run:
cat ~/.ssh/id_rsa.pubThis will display your public key, which you’ll copy for the next step.
- Go to your GitHub account and navigate to Settings.
- Under Access (on the left sidebar), click SSH and GPG keys.
- Click New SSH Key.
- Give the key a descriptive title (e.g., “Ubuntu Server”).
- Paste the public key that you copied from the droplet
~/.ssh/id_rsa.pub. - Click Add SSH Key.
Now, for the private key, run:
Notice the public key has a .pub extension, the private does not have one.
cat ~/.ssh/id_rsaThis will display your private key, which you’ll copy for the next steps.
- Go to your GitHub repository and navigate to Settings.
- Under Secrets and variables click on Actions.
- Click New repository secret.
- Name it SSH_PRIVATE_KEY.
- Paste the public key that you copied from the droplet
~/.ssh/id_rsa. - Make sure that your SSH private key is in the correct format. It should look something like this. Copy the whole code, including these lines.
-----BEGIN OPENSSH PRIVATE KEY-----
...
-----END OPENSSH PRIVATE KEY-----
This is how your secrets should look like:
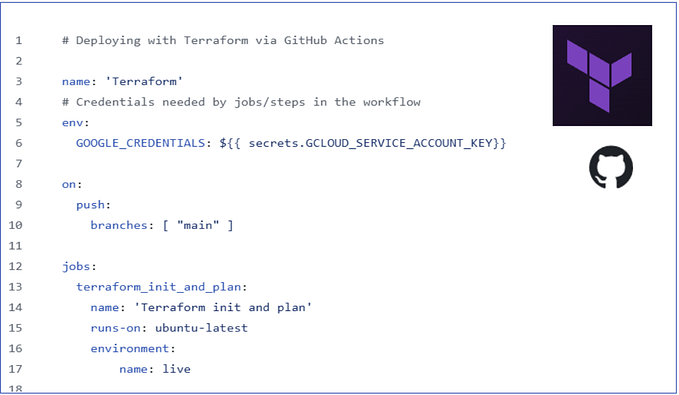
Adding our YML file
Now, this is where it all makes sense.
We are going to add the YAML file below in the directory at the root of our project .github/workflows/deploy.yml .
name: Deploy Ubuntu Server Project

on:
  push:
    branches:
      - main  # Change to your main branch

jobs:
  deploy:
    runs-on: ubuntu-latest

    steps:
      - name: Checkout code
        uses: actions/checkout@v2

      - name: Add SSH private key to agent
        uses: webfactory/ssh-agent@v0.5.3
        with:
          ssh-private-key: ${{ secrets.SSH_PRIVATE_KEY }}  # Ensure this secret contains the new private key

      - name: Deploy to Server
        env:
          SERVER_USER: ${{ secrets.SERVER_USER }}
          SERVER_IP: ${{ secrets.SERVER_IP }}
          APP_DIR: ${{ secrets.APP_DIR }}
        run: |
          ssh -o StrictHostKeyChecking=no -i ~/.ssh/id_rsa $SERVER_USER@$SERVER_IP "
          cd $APP_DIR &&
          git remote set-url origin git@github.com:yourgithubuser/yourgithubrepo.git &&  # Dont forget to change this!!!
          git pull origin main &&
          npm install &&
          npm run build
          "
This YAML file defines a GitHub Actions workflow for deploying a project to a remote server. Here’s what each part does:
1. Trigger:
— The workflow runs whenever you push to the `main` branch.
2. Job Setup:
— It uses `ubuntu-latest` as the runner environment.
3. Steps:
— Checkout code: Fetches the latest code from the repository.
— Add SSH key: Loads the SSH private key (stored as a GitHub secret) into the SSH agent for secure access to your server.
— Deploy to Server:
— Connects to the server using SSH.
— Navigates to the app directory.
— Pulls the latest changes from the repository.
— Installs dependencies with `composer` and `npm`.
— Builds the assets using `npm run build`.
This automates the deploy of the app whenever you push to main
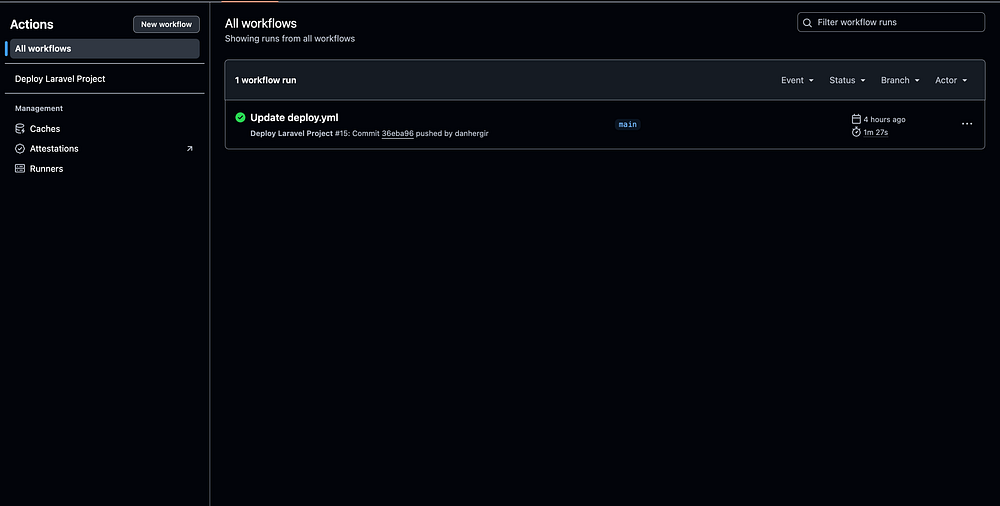
From now, all you have to do is to push a new commit. To check how this works, just click on the tab Actions of your repository at the top.
Hopefully, you will be able to visualize something like this
I hope this short tutorial works for you and can help you to save some time deploying those awesome apps you are building. I’d love to hear more about the projects all of you’re building and contribute if you need a hand.
To learn more about me and discover additional insights visit https://danhergir.com. You can also explore my Medium articles by visiting https://danhergir.medium.com for more in-depth content or connect with me on X @ https://x.com/danhergir.